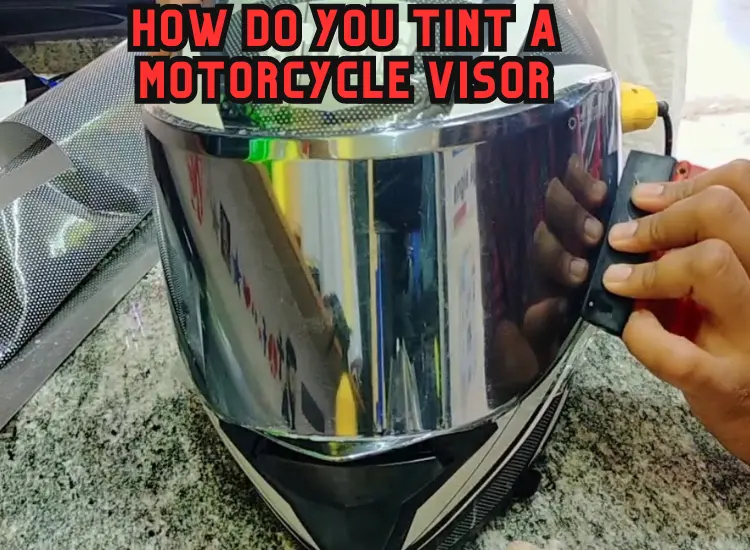
Tinting a motorcycle visor is an excellent way to enhance your riding experience, providing both practical benefits and a touch of style. Whether you’re seeking protection from the sun’s glare or adding a sleek look to your gear, tinting your visor can be a straightforward yet rewarding DIY project. As we delve into the process, we’ll explore the various methods and materials commonly used to achieve the desired tint, while also considering important safety considerations to ensure optimal visibility on the road. So, gear up and get ready to learn how to tint a motorcycle visor like a pro!

Are Tinted Motorcycle Visors Legal?
The legality of tinted motorcycle visors varies depending on the jurisdiction and local regulations. In many places, tinted visors are restricted, and there are specific rules governing their use. The primary concern with tinted visors is their potential to reduce visibility, especially in low-light conditions or during nighttime riding.
Tinted visors can make it challenging to see clearly, hindering the rider’s ability to spot potential hazards on the road. As a result, some regions may prohibit the use of heavily tinted visors to ensure the safety of motorcycle riders and other road users.
However, it’s essential to note that some jurisdictions permit the use of lightly tinted visors that meet certain standards. These visors may have specific levels of light transmittance that are considered safe for riding.
Before tinting your motorcycle visor or purchasing a tinted one, it is crucial to familiarize yourself with the local laws and regulations governing motorcycle helmet visors in your area. Always prioritize safety over style and ensure that the tint level complies with the law to avoid potential fines or, more importantly, accidents caused by impaired visibility.
Why Tint Motorcycle Visors
Tinting motorcycle visors serves several practical and functional purposes, making it a popular choice among riders. Here are some of the primary reasons why motorcyclists opt for tinted visors:
Riding under bright sunlight can be challenging, causing uncomfortable glare that strains the eyes. Tinted visors help reduce this glare, allowing riders to maintain clear vision and focus on the road ahead without squinting or getting blinded by the sun.
Tinted visors often come with built-in UV protection, shielding the rider’s eyes from harmful ultraviolet (UV) rays. Prolonged exposure to UV rays can lead to eye fatigue and long-term eye damage, making UV protection crucial during extended rides.
Tinted visors create a more relaxed and comfortable riding experience, especially during sunny days or when faced with harsh lighting conditions. By reducing the amount of light reaching the eyes, the visors help minimize eye strain and fatigue.
Tinted visors offer a degree of privacy for the rider. Passersby and other motorists may have difficulty making direct eye contact with the rider, adding an extra layer of anonymity or personal space.
Apart from their practical benefits, tinted visors also add a stylish and aggressive appearance to the motorcycle helmet. Many riders choose tinted visors to match their bike’s aesthetics or simply to express their individuality.
Despite these advantages, it’s crucial to remember that the use of tinted visors must comply with local laws and regulations to ensure safety on the road. Opting for lightly tinted visors or those meeting specific safety standards can strike a balance between style and functionality, allowing riders to enjoy the benefits of tinted visors while adhering to legal requirements.
How to Tint Motorcycle Visor
Tinting a motorcycle visor can be done through a relatively simple process. However, it’s essential to follow the steps carefully and use the right materials to ensure proper visibility and adherence to local laws. Here’s a step-by-step guide on how to tint a motorcycle visor:
Materials you’ll need:
- Clear motorcycle visor
- Tinting film (specifically designed for visors)
- Mild soap or baby shampoo solution
- Spray bottle with water
- Microfiber cloth
- Cutting tools (scissors or hobby knife)
- Squeegee or credit card
Clean the Visor Start by cleaning the motorcycle visor thoroughly. Use mild soap or baby shampoo diluted in water to create a gentle cleaning solution. Apply the solution to the visor’s surface and gently wipe away any dirt, dust, or debris with a microfiber cloth. Make sure the visor is completely dry before proceeding.
Prepare the Tinting Film Cut the tinting film to the approximate size of the visor using scissors or a hobby knife. Leave some extra margin around the edges to ensure full coverage.
Wet the Visor Spray a fine mist of water on the outside of the visor. This will prevent the tinting film from sticking prematurely, giving you some time to adjust its position.
Apply the Tinting Film Carefully place the cut tinting film onto the wet visor’s outer surface. Gently slide the film into position until it aligns correctly with the visor’s edges and contours.
Smooth out Air Bubbles Using a squeegee or credit card, start from the center and move outward, pressing out any air bubbles trapped between the visor and the tinting film. Be patient and work slowly to avoid creases or wrinkles.
Trim Excess Film Trim the excess tinting film around the edges of the visor using scissors or a hobby knife. Take your time to create clean and precise cuts.
Let it Dry Allow the visor to dry completely. This may take a few hours, depending on the climate and humidity.
Check Visibility and Legality Once the visor is dry, wear the helmet and test the visibility. Ensure that the tinting level doesn’t obstruct your vision, especially in low-light conditions. Additionally, check whether tinted visors are legal in your area and whether the level of tint on your visor complies with local regulations.
