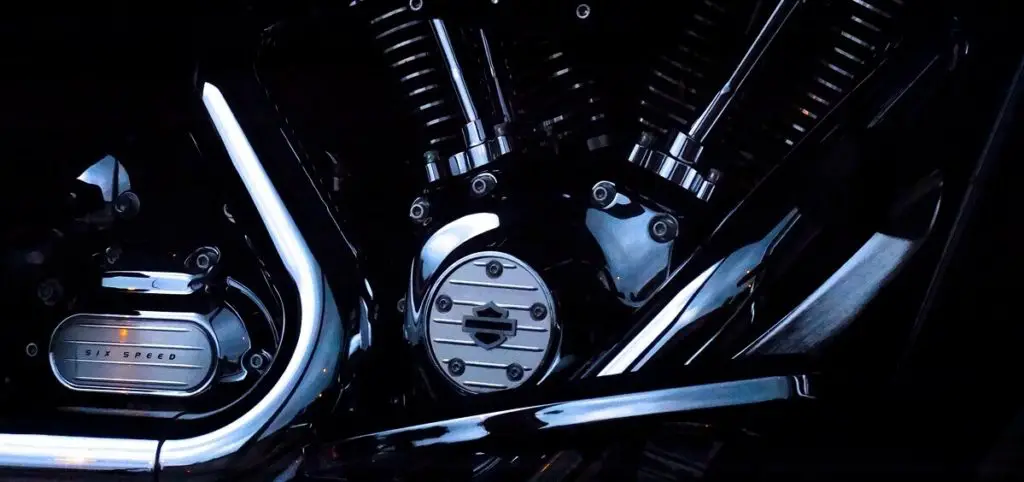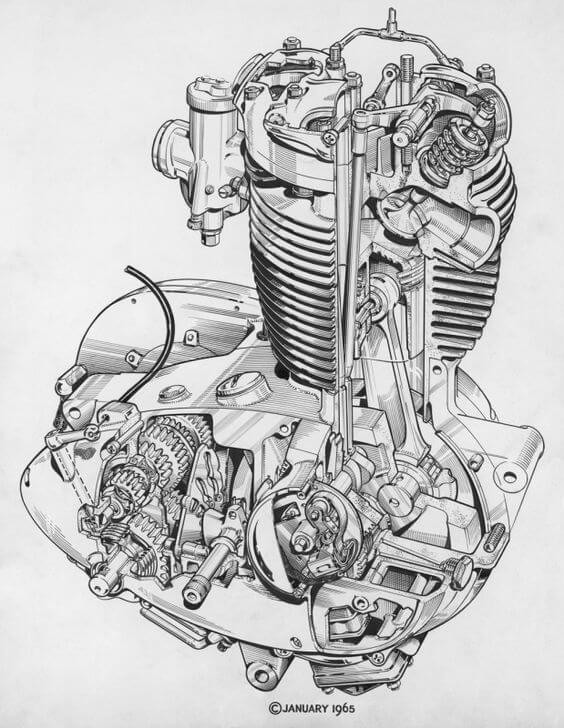
With the help of an expert and motor engineer, we try to explain “How to paint a motorcycle engine?” Painting a motorcycle engine is an effortless task, and that can be possible by your self. If you have of collecting motorcycle or you may like to design and decorate your bike with your preferred style and design, then you should go for some unique model and decoration of your motorcycle. Painting your bike engine is also an exceptional part of your bike, and that can make your bike unique from others.
If you want to set a unique painting for your bike engine, you have to follow some steps to take that. The steps depend on the age of your motorbike and the condition of your motorcycle.
If your bike is old aged and the situation is inferior, then you have to clean and polish that before you go for painting. You have to clean the default paint, and sometimes the engine gets rusty, and you have to remove the old paint and rust before you on for a newly designed color.
Choosing a color is a vital factor. You need to choose a long-lasting and durable color for your motorcycle engine. Another essential factor about paint is that some people make some mistakes while painting and choosing the color. If you have a new motorbike, then painting your bike engine is that much necessary. But for old aged bikes, painting engine is required to protect your engine from getting damaged.
So, today I am going to brief about the whole process about how to paint a motorcycle engine with safety precautions.
Why should you paint your motorcycle engine?
Some people talk about why they need to paint their motorcycle engines. The answer is straightforward. If you have an old aged bike, then you should go for painting your engine to protect that from rust and getting damaged. On the other part if you have a new bike with a new color, then coloring your bike engine is not necessary. But still, that can be necessary for you if you want a unique color and design for your motorbike.
Steps for painting your motorbike engine
For decorating your motorbike engine with paint, you have to follow some steps. The levels may minimize with the age of your motorbike. Here we make a detailed brief about the general steps for the painting of a motorcycle engine.
Step 1: Disassembling.
Step 2: Cleaning.
Step 3: Polishing.
Step 4: Painting.
Step 5: Assembling.
Materials needed for Motorcycle Engine Painting
Before you go for painting your motorbike engine, you need to collect all the elements that are required to decorate your motorbike with your preferred color.
- Aircraft remover.
- Soft towel.
- Wired brush.
- Rotary tools.
- Send paper.
- Spray paint.
Step 1: Disassembling
Disassemble the engine from your motorcycle with the toolkit box. After disassembling the engine, remove all the parts. To get the perfect color to each edge of your engine, and that looks great, you should do the process.
Step 2: Cleaning
Cleaning the motorcycle engine is a vital factor before you go for painting. If you have an old bike with a miserable condition, then you find old damaged color on the engine with rust.
Then you need to clean the old half faded color. To remove the old discoloration and rust, you need to use aircraft remover. Coated the engine with aircraft remover and wait for 30 minutes and then use sandpaper to remove the old color and rust after that use a soft towel to make the engine clean and bright.
Before doing the process, don’t forget to cover the spark plug port and the oil line and other circuits of the engine with mask tape.
Step 3: Polishing
Polishing is essential to grab the color on the engine surface. To polish the engine surface, you can use sandpaper. After the cleaning stage, you have to rub with sandpaper to make the surface smooth. Otherwise, the color is not correctly set.
On the other hand, if you find any rough area on the engine body, you need to rub that place to make that edge smooth compared to the other side. The key point is ‘polished the surface accourting to the surface roughness.
Step 4: Painting
Painting is the central part of all the steps. But before starting painting, check again the plugs, spark plug, and all the wire connections covered with mask tape. After making that okay, you can begin painting. But for that, you have to choose a color. My recommendation is to use spray paint. Here you can use Dupli-color, Rust-Oleum, Bright-Touch. All the colors are okay with the quality, durability, and temperature resistivity. After choosing your preferred color, make at least 2-3 layers on the engine. Otherwise, the color may fade after one or two months. If you can go for more layers, that is perfect for you. After completing the painting, you have to wait until the color dried.
Step 5: Assembling
After finishing the painting, you have to assemble the parts on the body of the engine. Remove the masking tape that you have set on that before. Set the spark plug, join the wire plugs and assemble the whole engine on your motorcycle.
Safety Precautions
- Use safety goggles and hand gloves when you clean the engine.
- Use a mask when you are painting the engine with spray paint.
- Always be careful about the points where the painting is forbidden (Spark plug port, wire port).
- Put on a mechanical apron while doing the whole process.
Conclusion
Painting on the motorcycle engine is vital to protect your engine surface from getting rust and damaged. If you are a motorcyclist and like to design your bike with your way, then engine painting is also a part of developing your motorbike. Select your preferred color. The mat black is always on the top of the choice for most of the bikers.
Protect your body while performing all the steps because you find chemicals on the color and the aircraft remover, and that can be harmful to your body. Perform all the steps correctly, and you are going to make a perfect painting for your motorcycle engine with your chosen design and color.
Read: How to Run GPS without Internet for a Motorbike?
CURRENT RATING:
★★★★★ 5/5

