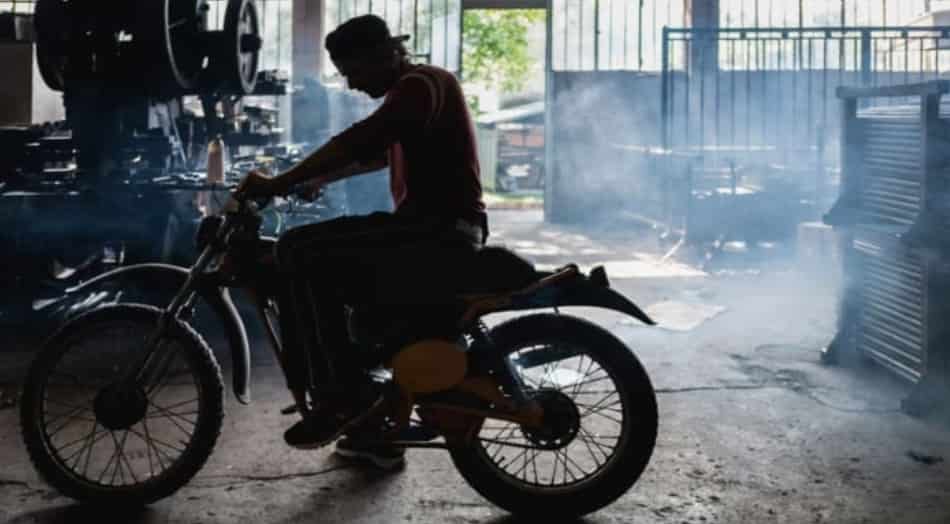
Backfiring occurs when the engine produces an unexpected explosion or popping sound from the exhaust or intake system. This phenomenon can have various causes, ranging from simple issues to more complex engine malfunctions.
In this article, we will explore the common reasons why dirt bikes backfire and provide insights into troubleshooting and resolving these issues. Understanding the root causes will help you maintain your dirt bike’s performance and ensure a smooth, enjoyable ride.
Why Does My Dirt Bike Backfire?
Dirt bikes are known for their power and agility, providing riders with an exciting off-road experience. However, if you’ve ever encountered your dirt bike backfiring, it can be quite perplexing and even worrisome. Backfiring refers to the occurrence of unexpected explosions or popping sounds from the exhaust or intake system of the bike’s engine.

This issue can arise due to various factors, ranging from simple maintenance problems to more intricate engine malfunctions. In this article, we will delve into the common reasons why dirt bikes backfire and offer valuable insights into troubleshooting and resolving these issues. By understanding the underlying causes, you’ll be equipped to address the problem effectively and ensure optimal performance during your dirt biking adventures.
Engine Running Rich
When a dirt bike’s engine is running rich, it means that the air-fuel mixture in the combustion chamber contains more fuel than necessary. This can lead to a variety of issues, including backfiring. Several factors can contribute to an engine running rich, such as a malfunctioning carburetor, clogged air filter, incorrect jetting, or a faulty fuel injector in modern fuel-injected dirt bikes.
When the fuel mixture is too rich, there is an excess of unburned fuel in the exhaust system, which can ignite and cause the backfiring noise. In the following sections, we will delve deeper into the causes and potential solutions for an engine running rich, helping you diagnose and address the issue to restore optimal performance to your dirt bike.
Dirt Bike Backfiring: How to Fix (With steps)
If your dirt bike is backfiring, it’s essential to identify and address the underlying issue to restore smooth operation and prevent potential damage. Here are some steps to help you fix the backfiring problem:
- A clogged or dirty air filter can disrupt the air intake, leading to an imbalanced air-fuel mixture. Remove the air filter and inspect it for dirt, debris, or excessive oil. Clean or replace the filter if necessary.
- Check the exhaust system for any leaks, loose connections, or damaged components. A faulty exhaust system can cause irregular airflow, affecting the combustion process and leading to backfiring. Repair or replace any damaged parts as needed.
- A fouled or worn-out spark plug can contribute to backfiring. Remove the spark plug and inspect it for carbon buildup, excessive wear, or damage. Clean or replace the spark plug if necessary, ensuring the correct gap setting.
- If your dirt bike is equipped with a carburetor, it may require adjustment. Locate the carburetor and adjust the air-fuel mixture screw according to the manufacturer’s specifications. For fuel-injected bikes, consider taking it to a professional mechanic who can diagnose and recalibrate the fuel injection system if needed.
- Incorrect ignition timing can cause backfiring. Consult your dirt bike’s manual for instructions on how to check and adjust the ignition timing. Ensure the timing is set correctly based on the manufacturer’s recommendations.
- Vacuum leaks can disrupt the proper functioning of the engine. Inspect the intake manifold and vacuum lines for cracks, loose connections, or leaks. Repair or replace any damaged components to restore proper vacuum pressure.
If the above steps do not resolve the backfiring issue, or if you are uncertain about performing the repairs yourself, it is advisable to consult a qualified mechanic or take your dirt bike to a reputable service center. They can diagnose and address the problem accurately, ensuring your bike operates smoothly and efficiently.
Remember, it’s crucial to follow safety guidelines and consult your dirt bike’s manual for specific instructions and recommendations. By properly diagnosing and fixing the backfiring issue, you can enjoy a trouble-free and exhilarating dirt biking experience.
Installing an Aftermarket Exhaust
Installing an aftermarket exhaust on your dirt bike can enhance its performance and give it a customized look and sound. Here are the steps to guide you through the installation process:
Gather the necessary tools: Before starting, make sure you have the required tools on hand, such as wrenches, sockets, screwdrivers, and pliers. Additionally, ensure you have the aftermarket exhaust kit, including the muffler, header pipe, mounting brackets, and any accompanying hardware.
Prepare your workspace: Find a well-ventilated and spacious area to work on your dirt bike. Ensure the bike is securely positioned on a stand or lift to provide easy access to the exhaust system.
Remove the stock exhaust: Begin by disconnecting the negative terminal of the battery to prevent any electrical mishaps. Then, locate the bolts or clamps securing the stock exhaust to the engine and muffler. Loosen and remove them carefully, and gently slide the exhaust off the mounting brackets. Take note of any gaskets or seals that may need to be replaced.
Install the new header pipe: Attach the new header pipe to the engine, ensuring a proper fit. Use the provided hardware and follow the manufacturer’s instructions for torque specifications. Make sure all connections are secure and aligned correctly.
Mount the muffler: Align the aftermarket muffler with the mounting brackets on the bike. Insert any required gaskets or seals between the muffler and header pipe to ensure a proper seal. Use the provided hardware to fasten the muffler securely to the bike.
Adjust and tighten: Once the header pipe and muffler are in place, adjust their position to ensure proper alignment and clearance. Tighten all bolts and clamps securely, but be careful not to overtighten, as it may cause damage.
Double-check the installation: Take a moment to inspect the entire exhaust system, ensuring all connections are secure, and there are no loose components. Verify that there is sufficient clearance between the exhaust and other parts of the bike, such as the frame or bodywork.
Reconnect the battery: With the installation complete, reconnect the negative terminal of the battery, ensuring a secure connection.
Start the engine and test: Start your dirt bike and let it idle for a few minutes. Listen for any unusual noises or leaks. Check the exhaust system for any signs of loose connections or smoke. If everything appears to be in order, take your bike for a short test ride to evaluate its performance and sound.

